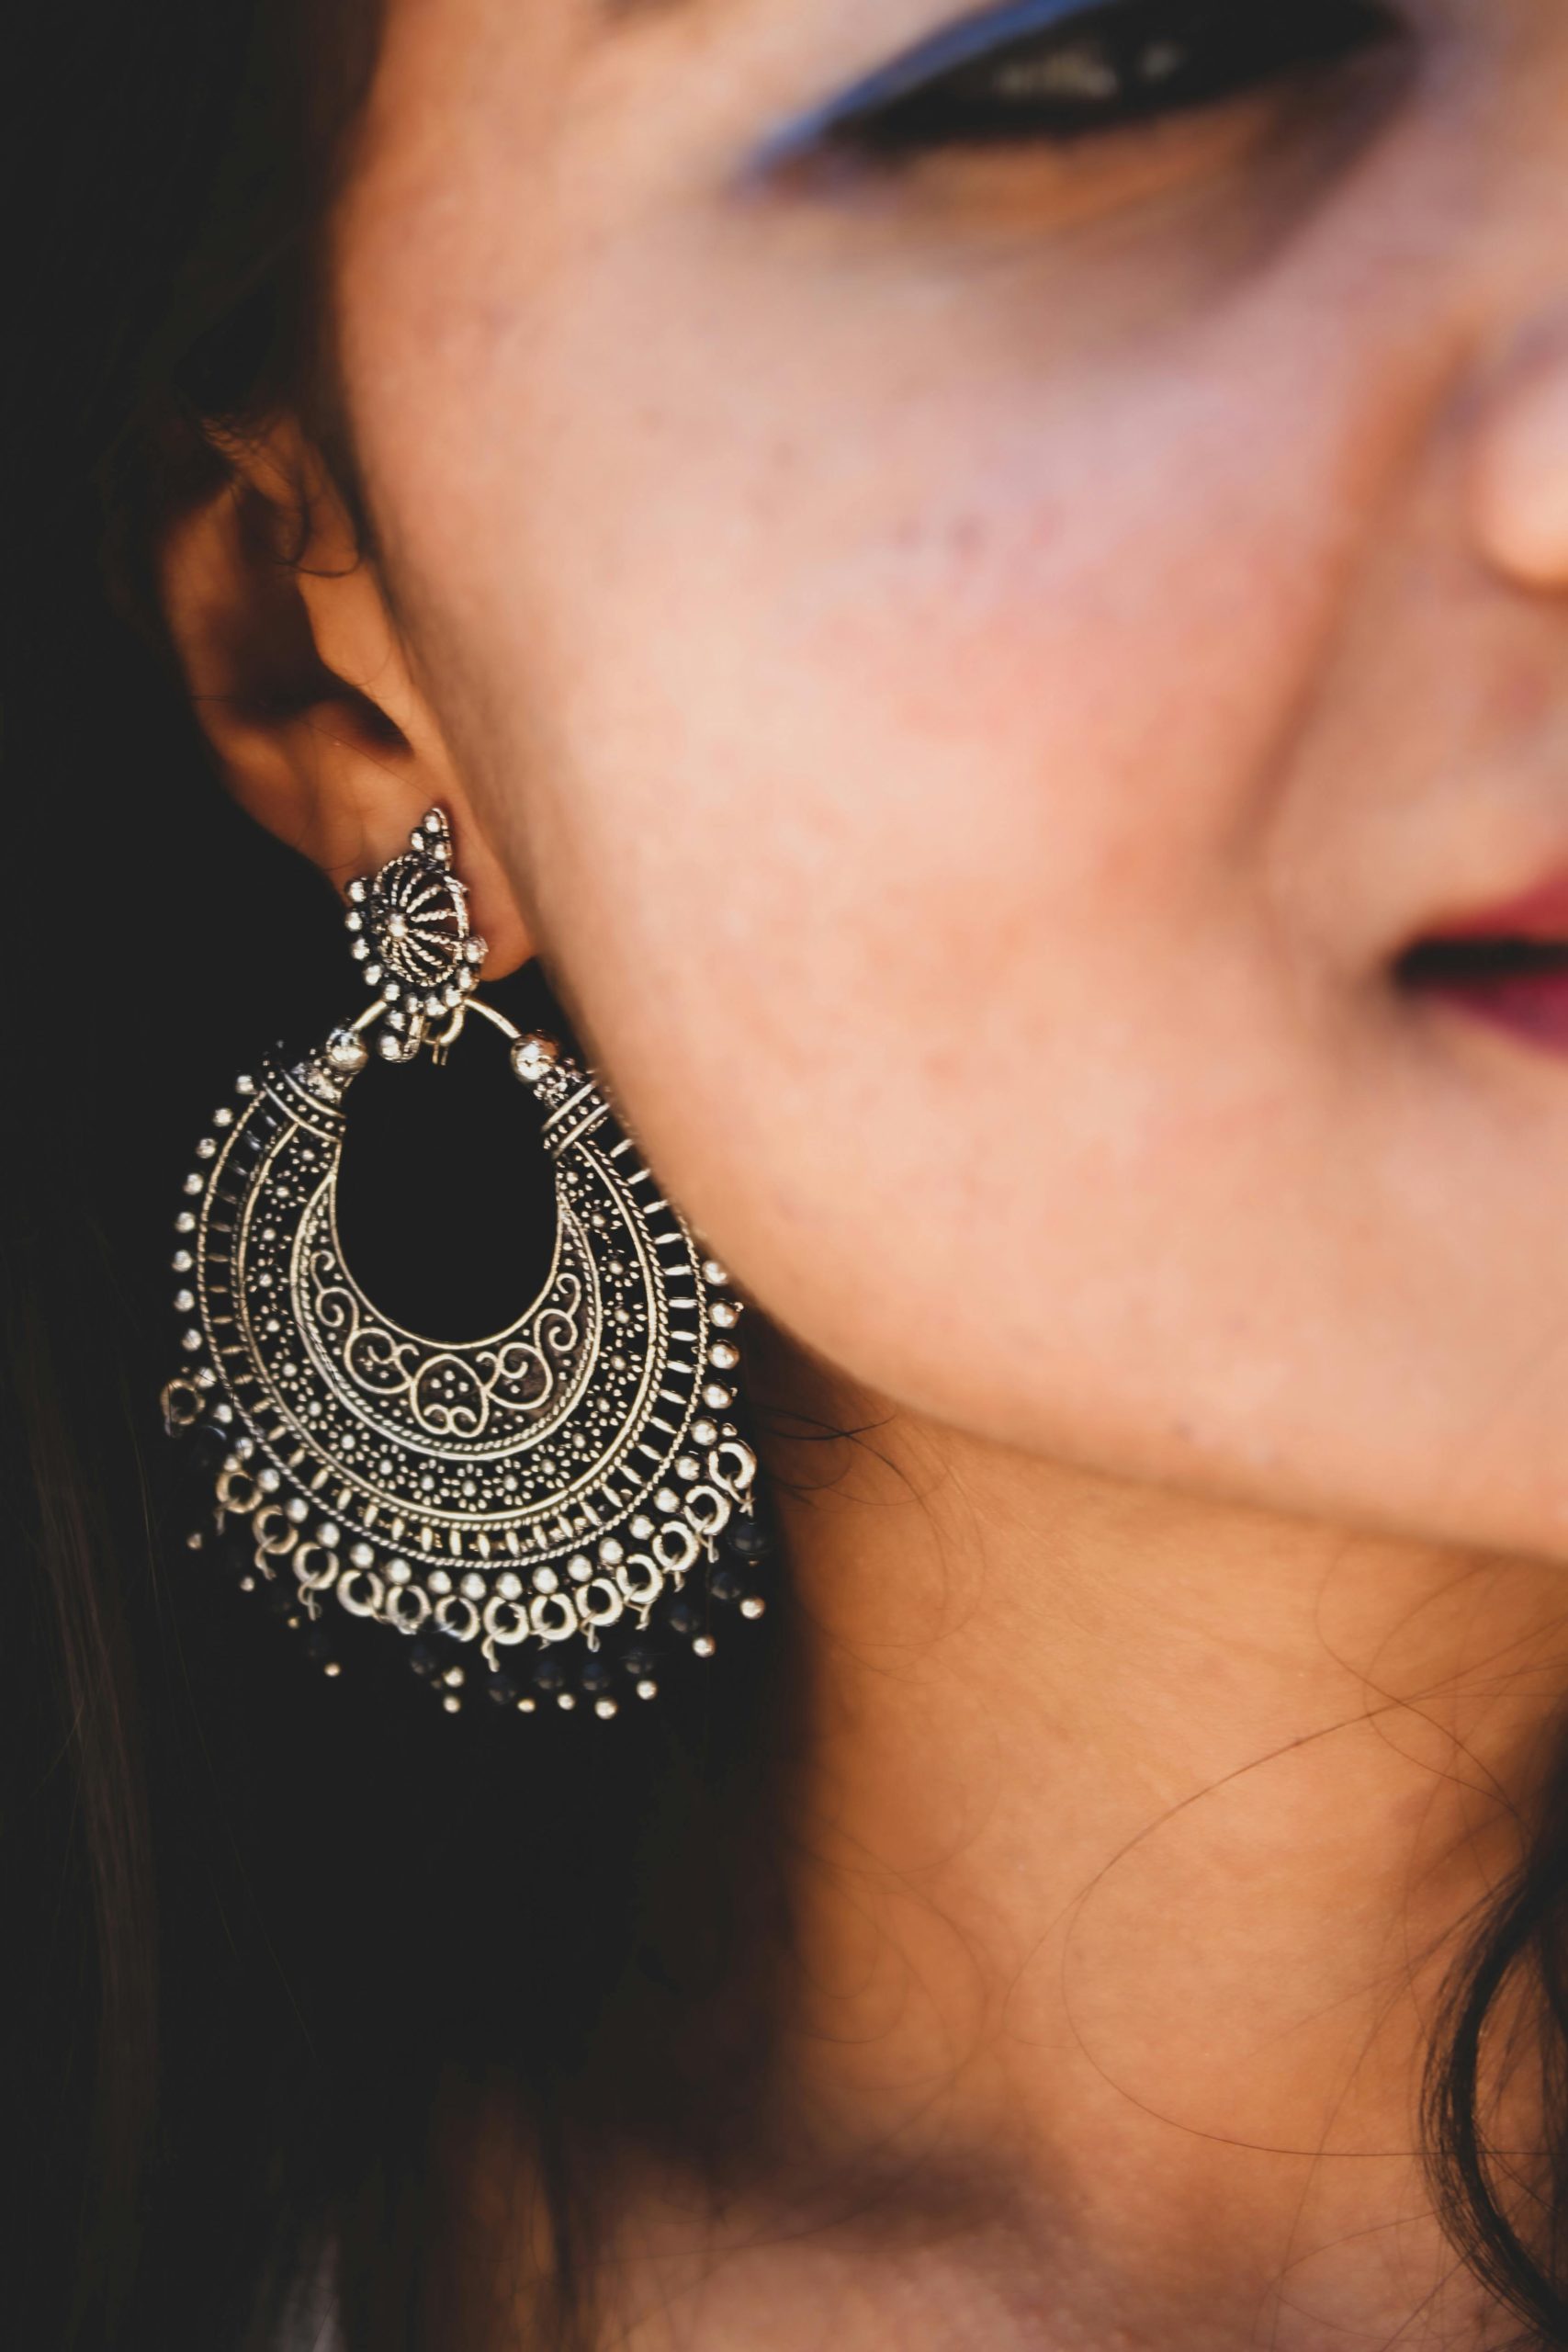
There is nothing quite like the brilliant, cool gleam of high-quality silver. Whether you have just invested in a pair of Sterling Silver Earrings or a stack of Sterling silver Rings, that mirror-like finish is what makes silver so captivating.
However, if you have owned silver for more than a few months, you have likely noticed it turning yellow, brown, or even black. This is tarnish, and while it is frustrating, it is not permanent.
At Zalkari, we believe that understanding your jewellery is the first step to preserving it. This complete guide will not only teach you how to clean your silver safely but also how to keep it shining longer than the competition suggests.
Why Does Silver Jewellery Tarnish? (The Science)
Unlike gold, silver is a reactive metal. It doesn’t “rust” like iron, but it does chemically react with sulfur in the air. This creates silver sulfide—the dark layer you see on the surface.
Key Insight: Humidity, sweat, perfume, and even rubber bands accelerate tarnish. If you live in a humid climate, your jewellery will need more frequent care.
Method 1: The Gentle Daily Clean (For Light Dullness)
Best for: Sterling silver rings and earrings worn daily.
Most competitors skip the simplest method. Before you use harsh chemicals, try this:
- Mix: A few drops of mild dish soap into a bowl of warm (not hot) water.
- Soak: Let your silver sit for 5 minutes to loosen oils.
- Scrub: Use a soft toothbrush (not the one you use for your teeth) to get into the crevices of your Sterling silver Rings.
- Rinse & Dry: Rinse with cool water and dry immediately with a soft cotton cloth.
Pro Tip: Never let silver “air dry.” Water spots lead to mineral buildup and tarnish.
Method 2: The Baking Soda & Aluminium Foil Trick (The “Magic” Method)
Best for: Heavily tarnished silver (black spots).
This is the most effective chemical-free method. It reverses the tarnish reaction.
What you need: Baking soda, aluminium foil, boiling water, a glass bowl.
The Process:
- Line the bowl with aluminium foil (shiny side up).
- Place your silver jewellery on the foil. Make sure the metal touches the foil.
- Sprinkle 1 tablespoon of baking soda over the pieces.
- Pour boiling water into the bowl until the jewellery is submerged.
- Watch the magic: In 30 seconds, the tarnish will jump from your silver to the foil.
- Remove, rinse, and buff dry.
Warning: Do not use this method for silver-plated items or jewellery with glued-in gemstones (like opals or turquoise). It is safe for solid Sterling Silver Earrings.
Method 3: The Vinegar Bath (For Stubborn Grime)
Best for: Silver chains and intricate filigree work.
If your jewellery has a lot of built-up dirt and tarnish:
- Soak your silver in a mixture of 1/2 cup white vinegar and 2 tablespoons baking soda.
- Leave it for 2-3 hours.
- Rinse with cold water and polish dry.
Note from Zalkari: While effective, vinegar is acidic. We recommend rinsing thoroughly and following up with a polishing cloth.
Method 4: Commercial Silver Dip (Use with Caution)
Best for: When you are in a rush.
Liquid silver dips are fast, but they are abrasive. They strip away a microscopic layer of silver each time. We only recommend this for un-polished silverware, not fine jewellery.
If you must use a dip:
- Remove your jewellery after 10 seconds (not minutes).
- Rinse with water and baking soda to neutralize the acid.
- Never dip pearls or gemstones.
The “Do Not” List (What Competitors Get Wrong)
To keep your Sterling silver Rings looking new, avoid these common mistakes:
| Mistake | The Zalkari Fix |
| Toothpaste (It scratches the metal) | Use baking soda paste (3:1 ratio with water) instead. |
| Paper towels (They cause micro-scratches) | Use microfiber or flannel cloths. |
| Ultrasonic cleaners (Can loosen stones) | Use soft brush + warm water for daily cleaning. |
How to Clean Silver with Gemstones
Many of our Sterling Silver Earrings feature cubic zirconia or natural stones. You cannot treat these like plain metal.
- Do not soak: Never submerge glued stones in liquid. It weakens the adhesive.
- The Q-tip method: Dip a cotton swab in soapy water and gently wipe around the stone setting.
- Drying: Use a hairdryer on a cool setting to blow water out from under the stone.
Prevention: The 80/20 Rule of Silver Care
Cleaning is reactive; prevention is proactive. 80% of tarnish can be avoided with storage.
- The Ziploc Rule: Store your silver in an anti-tarnish bag or a Ziploc bag with the air squeezed out. Oxygen causes tarnish.
- Wear it: Surprisingly, the natural oils in your skin polish sterling silver. Wearing your Sterling silver Rings often keeps them brighter than storing them.
- Last on, first off: Perfume and hairspray are silver killers. Put your jewellery on after your perfume dries. Take it off before you shower or swim.
When to Call a Professional (Zalkari’s Advice)
If your silver is vintage, has deep scratches, or is a family heirloom, do not use DIY methods. Bring it to a jeweler for a professional ultrasonic clean and re-polish. For standard wear-and-tear, the methods above will restore your Zalkari pieces to 99% of their original shine.
Final Shine: Why Choose Zalkari?
At Zalkari, we craft Sterling Silver Earrings and Sterling silver Rings designed to last. We use high-quality 925 sterling silver that responds beautifully to proper care.
By following this guide, your silver will not only last for years—it will look better than the day you bought it.
Ready to add to your collection? Explore our new arrivals of Sterling silver Rings and Sterling Silver Earrings today.
Photo by Okay Bhargav from Pexels (Free for Commercial use)
Image Published on May 5th, 2020